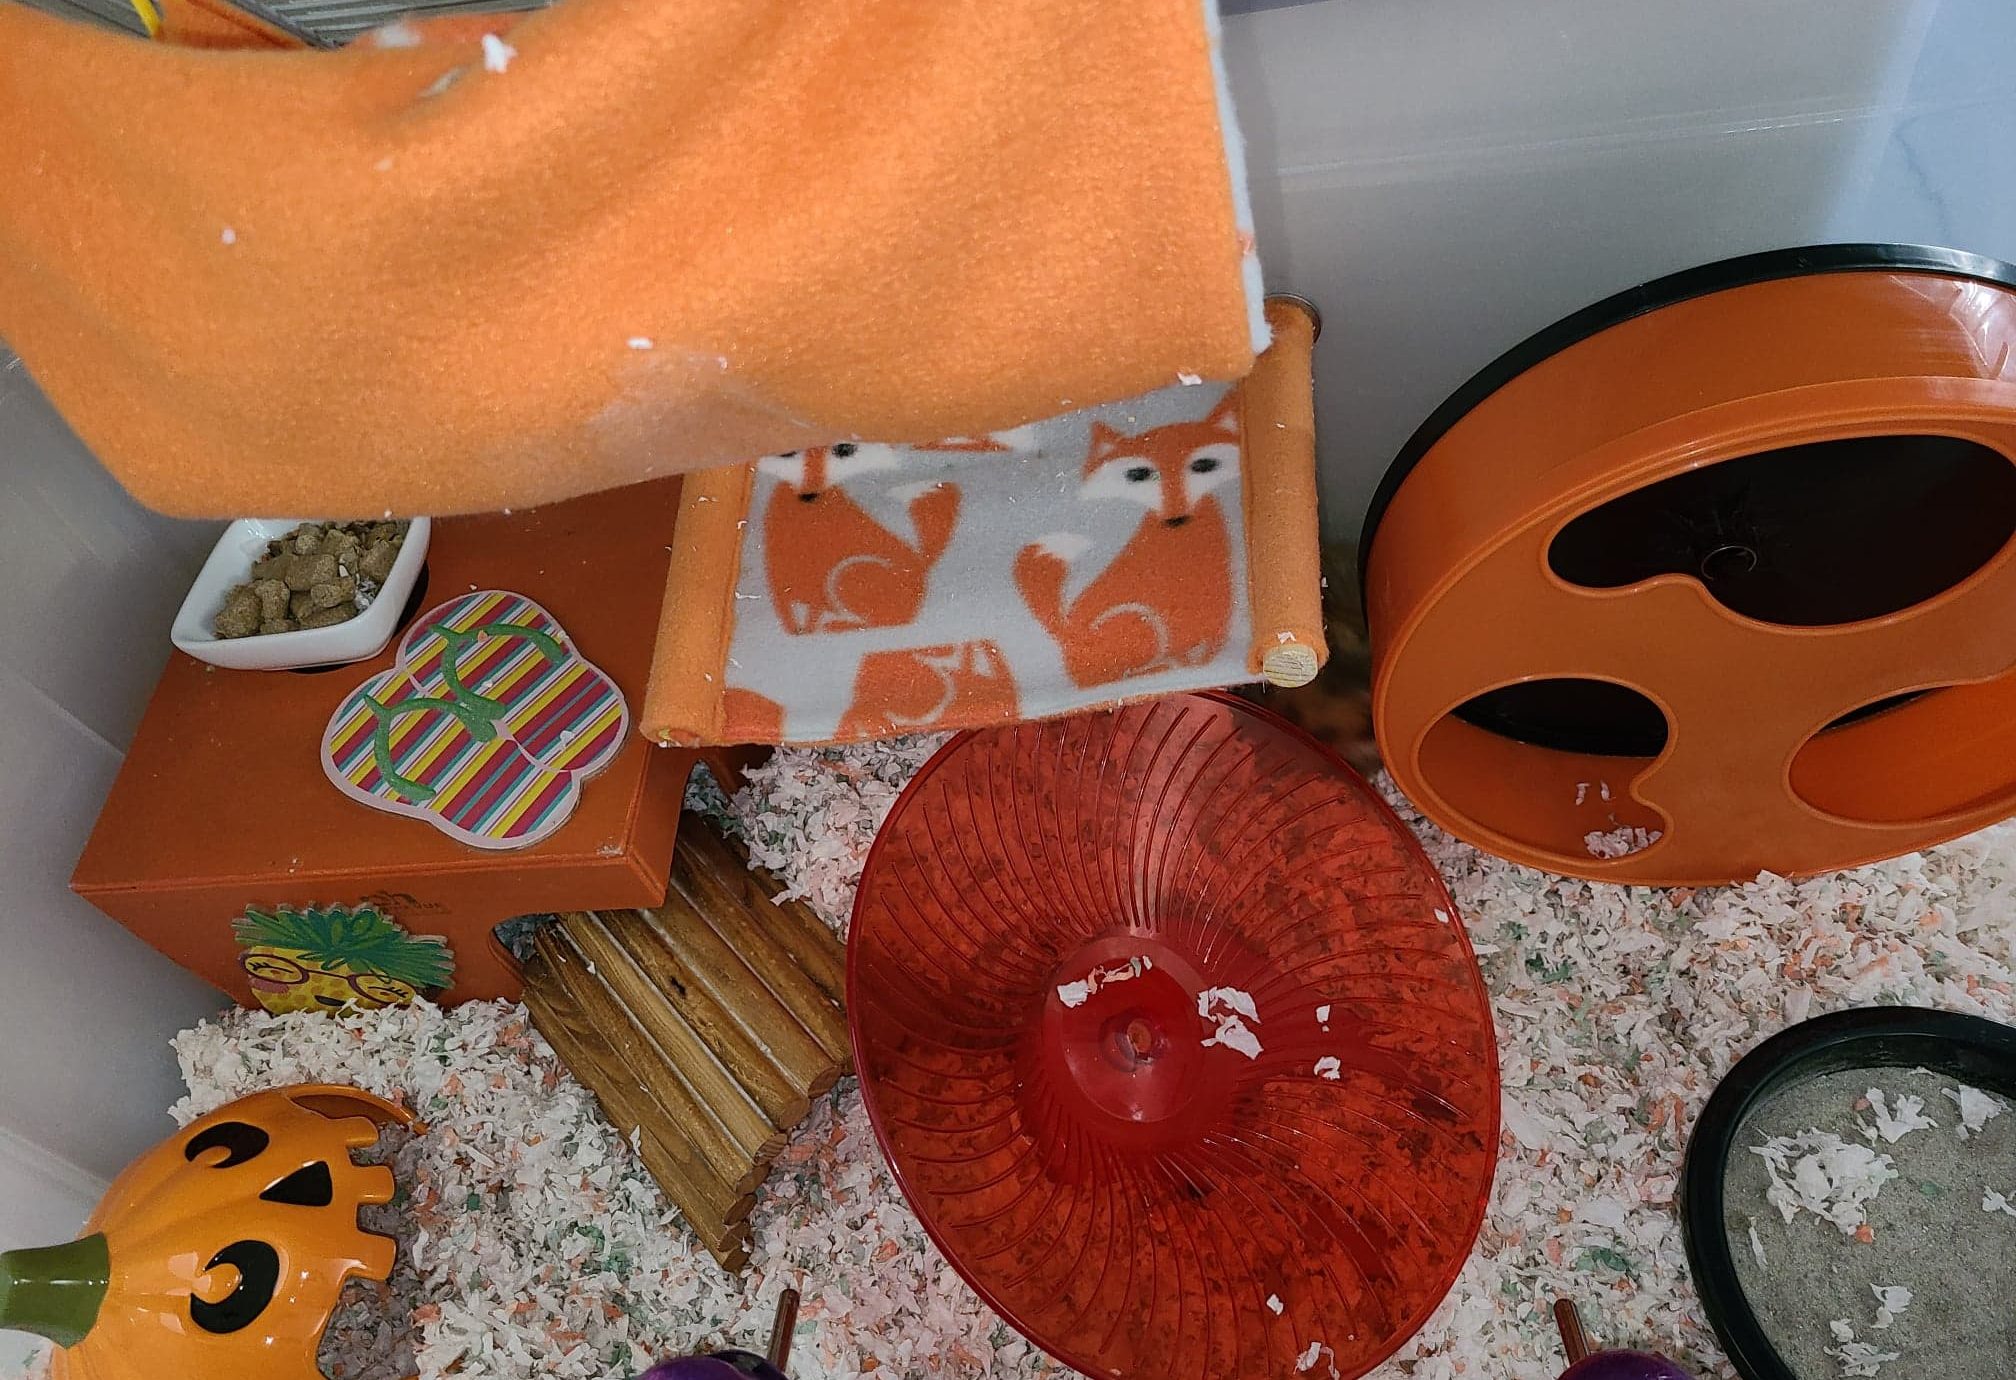
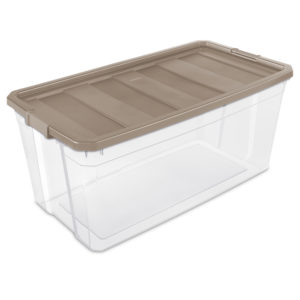
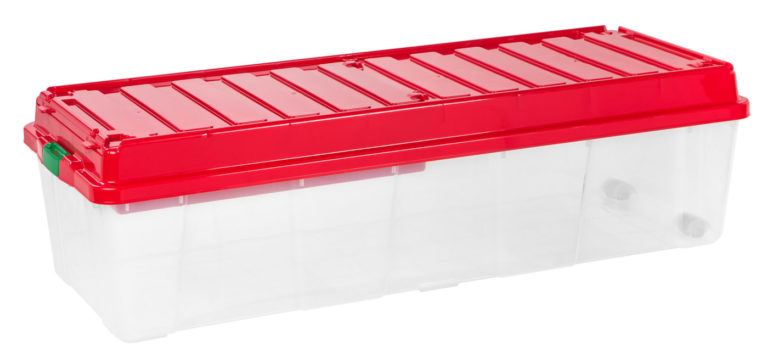
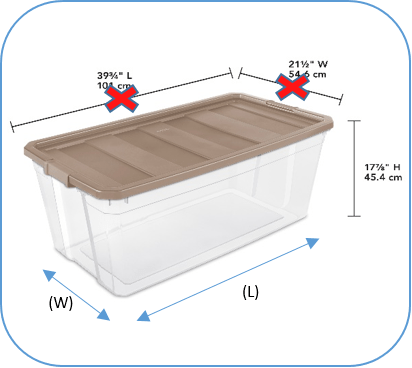
The 50 gallon (200qt) Sterilite bin makes an excellent cage because it provides a lot of space and enough height to fit any size wheel, to add hammocks and various ramps. It is our 1st choice when it comes to bin cages.
It can be purchased at Walmart, Home Depot, even Target during the holidays, for around $25.
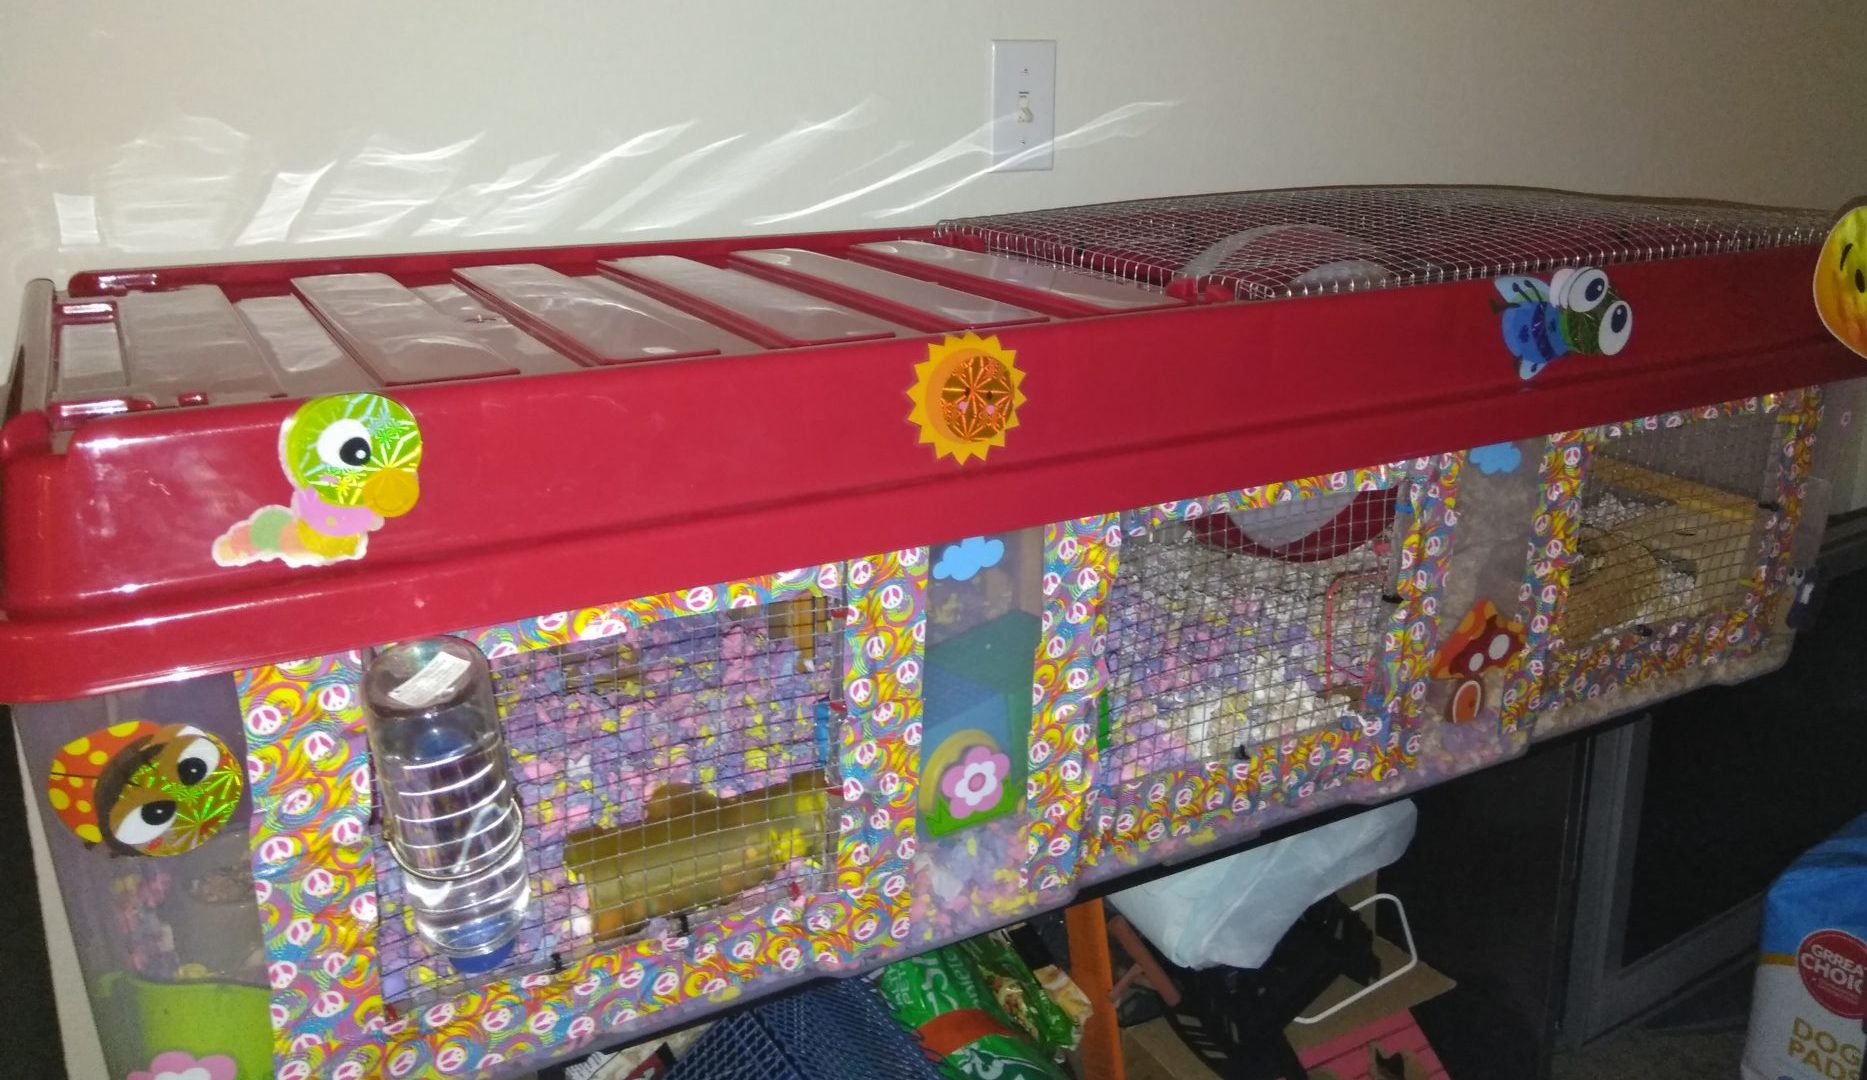
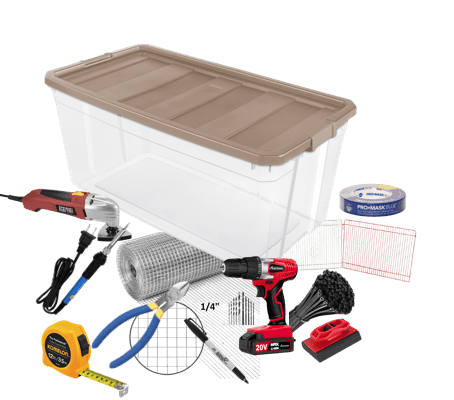
Because hamsters are little escape artists, you will also need to keep the lid on, which means that you will need to replace sections of the bin with hardware cloth or wire mesh for ventilation. You can also use wire playpen panels* for the lid and sides.
Water bottles* can be easily attached by either purchasing a metal water bottle guard, which will also protect your water bottle from chewing, or by using industrial strength Velcro*or magnets*. Other items, such as hammocks can also be attached by hanging them by the wire of the lid.